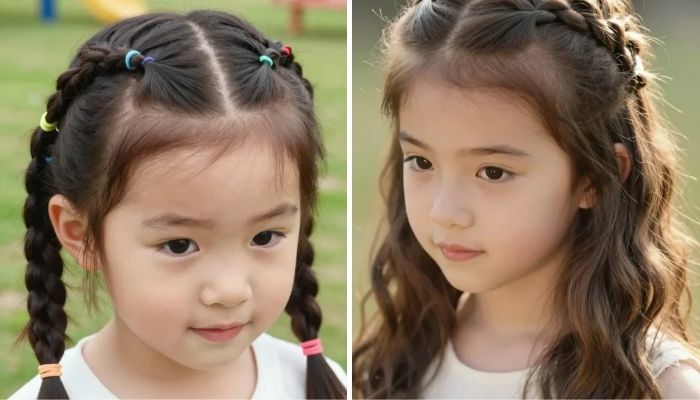
16 Easy Hairstyles for Hot Summer Days
All winter, we count down the days until warmer weather arrives. We dream about sunshine, sandy beaches, ocean waves, and long summer days. The heat and sweat? Not exactly our favorite part—but it often comes with the territory. Still, it can be hard to enjoy a backyard barbecue when your bangs keep sticking to your forehead or when it feels like a heavy layer of hair is trapping heat on the back of your neck.
Humidity has a way of making anyone want to rush to the salon and ask for a dramatic haircut. But before you decide to chop off all your hair, consider trying a few easy styles that help you stay cool during the summer.
These looks keep hair off your face, neck, and back—so you can beat the heat while still looking effortlessly cute. Even better, none of them require a curling iron, blow dryer, or flat iron, because dealing with hot styling tools in the middle of summer is the last thing anyone wants.
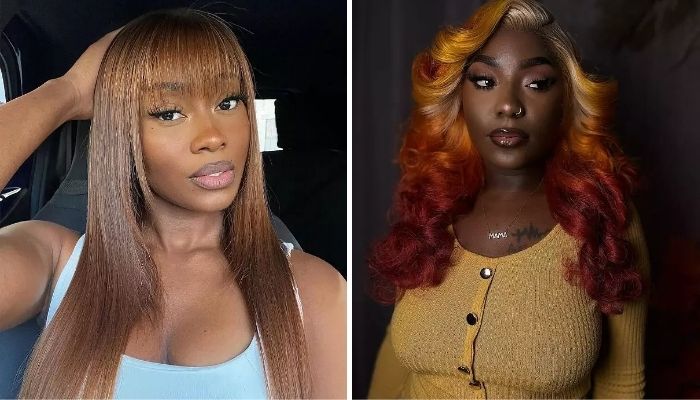
1. Braided Box Braids
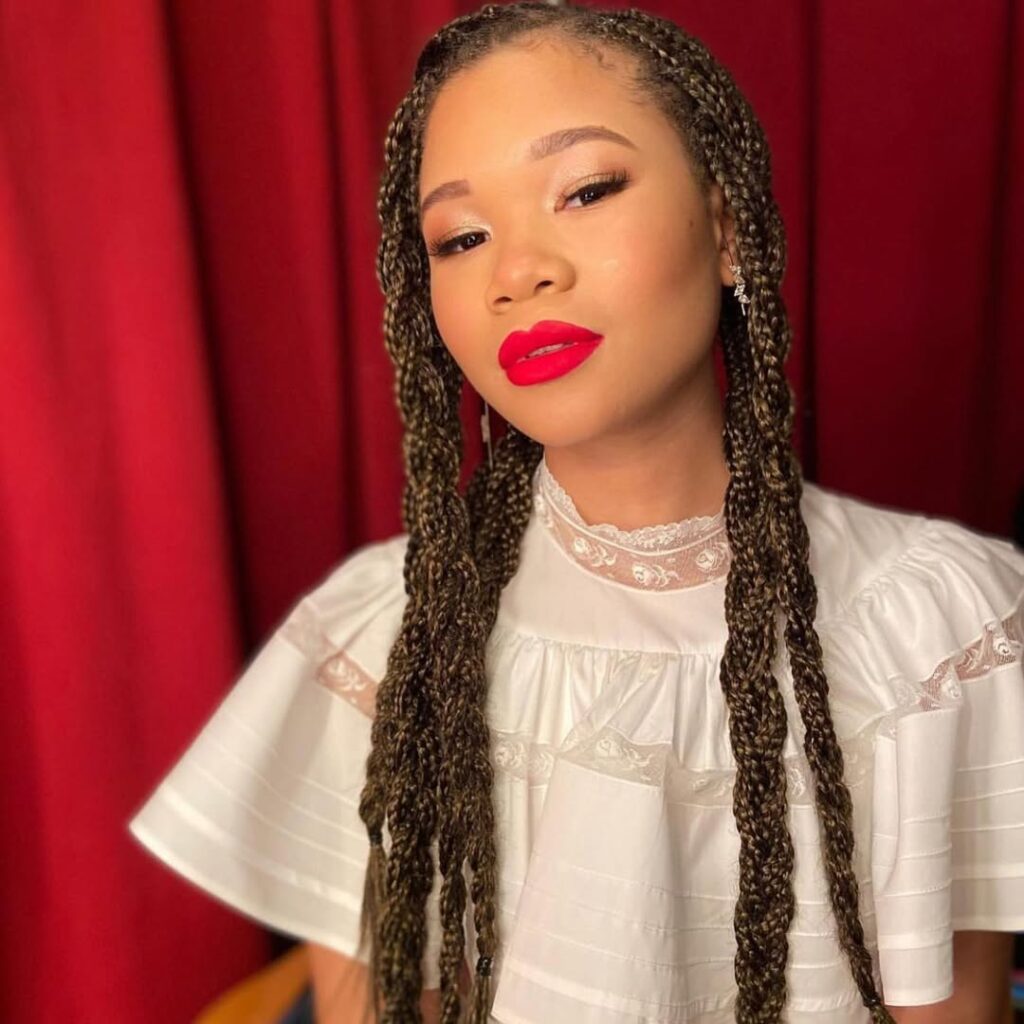
Give your box braids a fresh twist by gathering them into a chic, detailed braid. It may look intricate and stylish, but it’s actually a simple style built on top of your existing braids. Secure the ends with clear or hair-colored elastics to keep the attention on the beautiful braided pattern.
2. Braided Ponytail
The secret to this hairstyle is simple: secure your hair into a ponytail first, then begin braiding. This helps the braid stay tight and exactly where you want it throughout the day. For a relaxed look, pull out a few front pieces or bangs to create a slightly messy style. If you prefer something more polished, apply a little styling cream to smooth everything back.
3. Braided Crown
If you have long hair, divide it into two sections and braid each side. Then wrap the braids around your head and secure them with bobby pins to create a stylish, crown-like look. If your hair is shorter, you can still achieve a similar vibe with a little creativity. Instead of wrapping the braids around your head, try doing a Dutch braid on each side starting from the top. Begin by parting your hair down the middle, then braid each side and secure the ends with elastics.
4. Pulled-Back Knotless Box Braids
For braids a little extra flair, try pulling them back into a wrap-around ponytail. It’s an easy way to keep your hair out of your face while still showing off your braids in a stylish way. If you prefer a cleaner look, gather everything into a sleek high ponytail for a polished and effortless style.
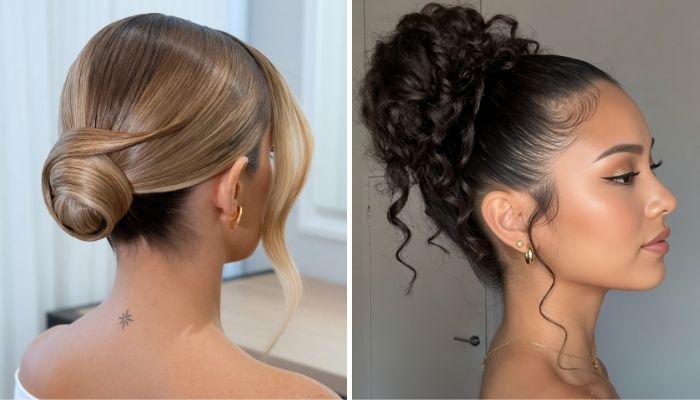
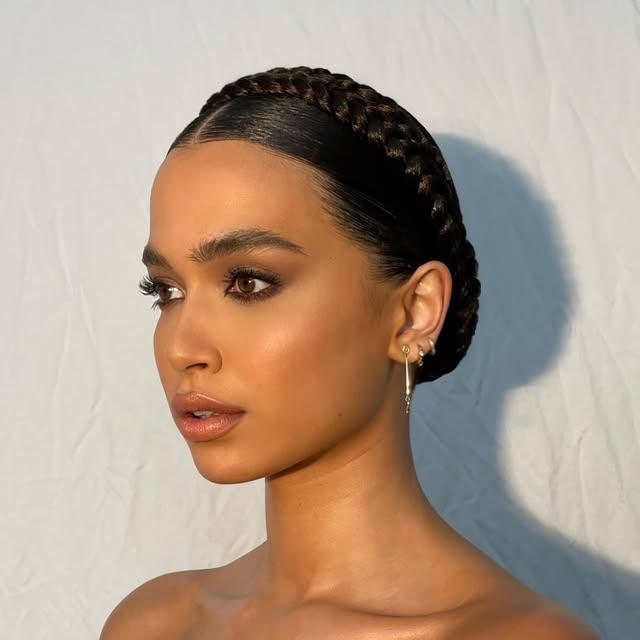
5. Low Slicked-Back Twisted Bun
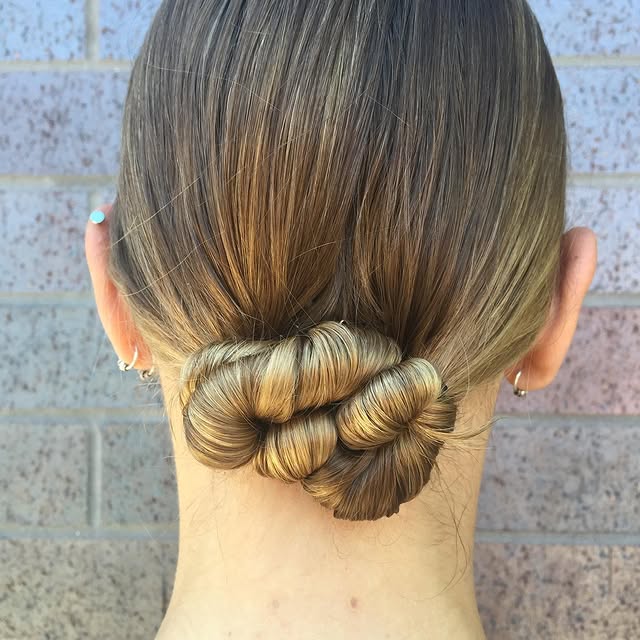
To create this sleek bun, start by applying a styling cream and gathering all your hair into a low ponytail at the back of your head. Once it’s secured, twist the hair clockwise from top to bottom. Next, wrap the twisted hair around itself to form a bun and pin it in place.
6. Space Buns
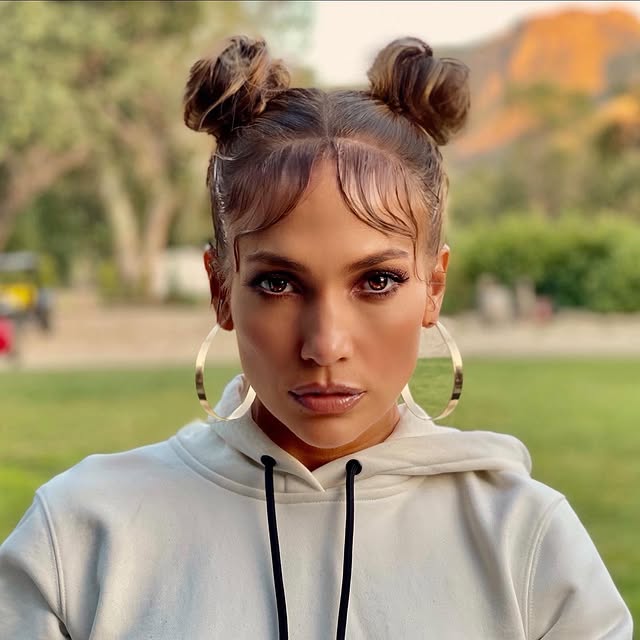
Space buns are probably one of the easiest hairstyles to create, which is why they’ve remained a timeless favorite. Simply divide your hair and create two small buns on either side of your head, securing them with elastics or bobby pins. It’s easiest to start with a middle part, but you can also experiment with different placements and position the buns wherever you like for a unique twist.
7. Twisted Top Knot
A sleek top knot is a go-to hairstyle because it looks polished and works well with almost every hair type. Start by using a brush and a bit of styling gel to pull your hair up to the crown of your head, smoothing out any bumps or creases along the way. Next, gather your hair into a tight ponytail and secure it with an elastic to keep everything in place. Then twist the ponytail around itself to form a bun and secure it with bobby pins.
8. Braided Bun
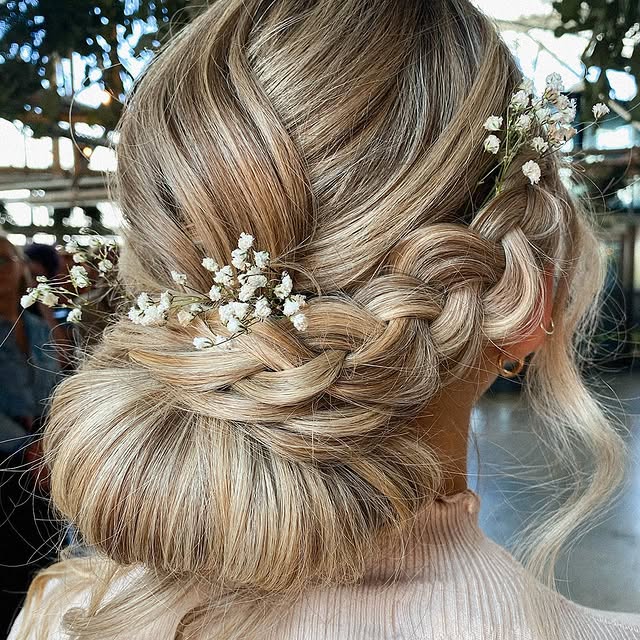
This hairstyle adds a stylish twist to a simple low messy bun. Start by parting your hair to the side, then create a French braid beginning at the crown of your head and working toward the back, stopping where you want the base of your bun to sit. Once the braid is finished, gather the rest of your hair together and form a messy bun. Secure it with an elastic and a few bobby pins to keep everything in place.
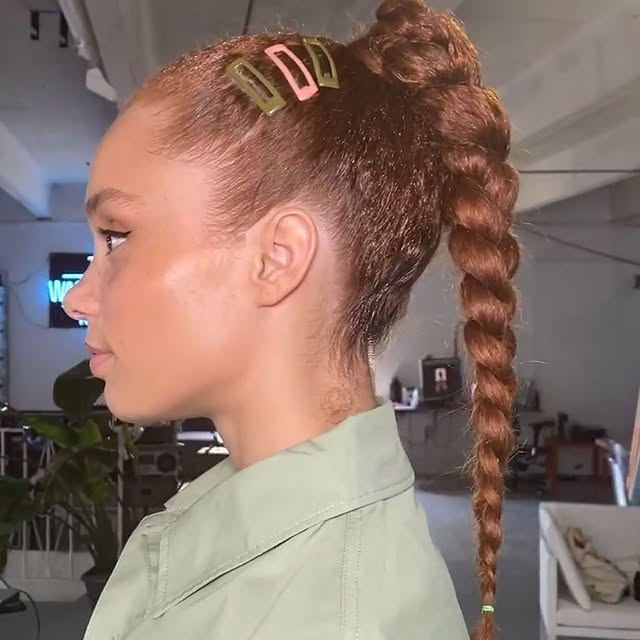
9. Bubble Pony
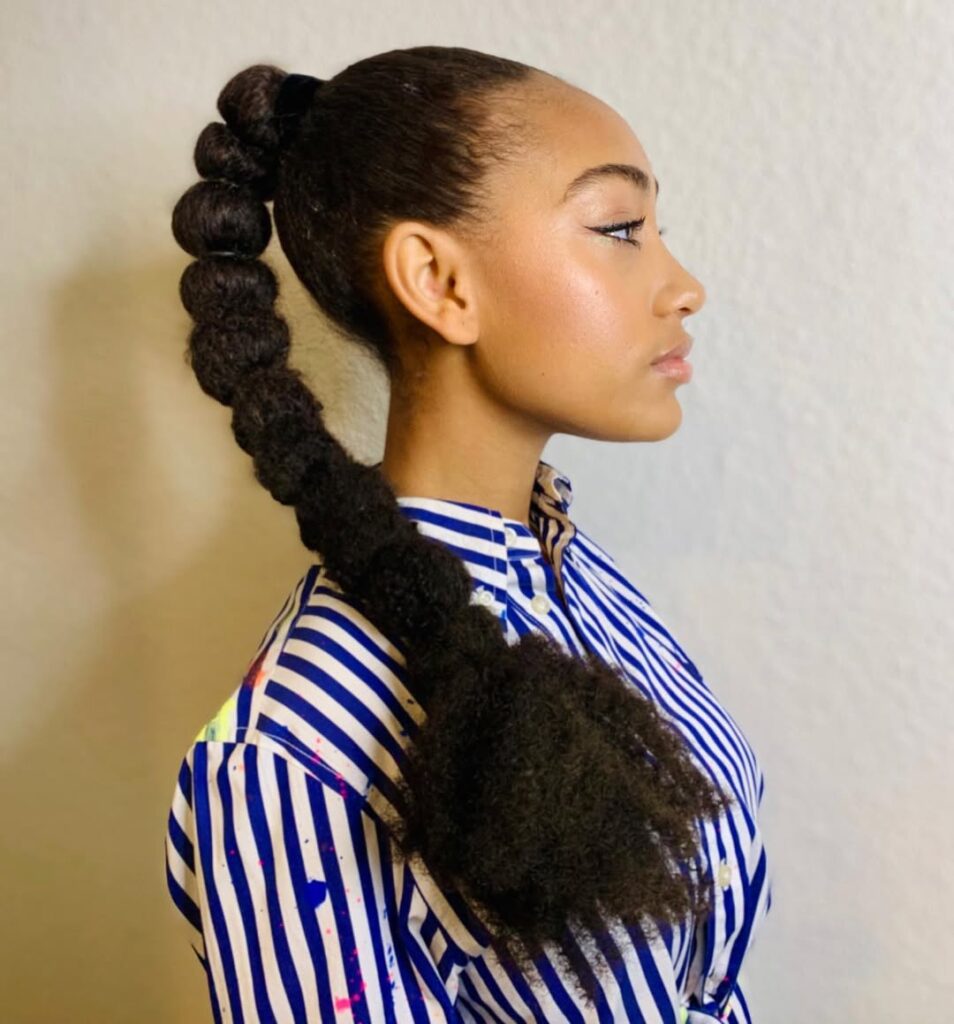
Start by making a classic ponytail. It can be high, mid-level, or low depending on the look you want that day. Then, a few inches below the first hair tie, add another elastic. Continue placing elastics every few inches down the ponytail until you reach the ends of your hair. The choice really depends on the look you’re going for and what works best with your hair texture.
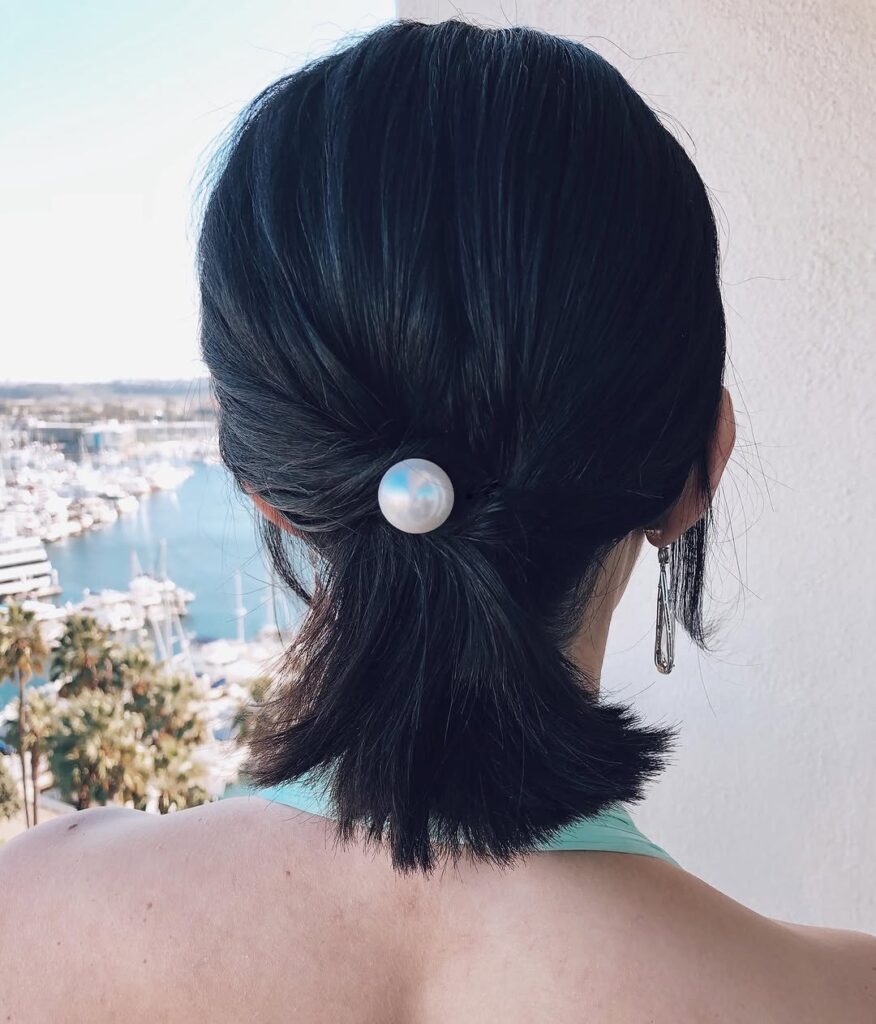
10. Sleek Low Pony With Accessory

Ponytails are a favorite because they’re easy to create and endlessly versatile. Simply brush your hair back to smooth out any bumps, using a little styling cream if you want a sleek finish. Gather your hair at the nape of your neck and secure it with an elastic, then complete the look with your favorite accessory like a clip, pin, or scrunchie. This style looks especially sleek on straight hair, but it also works beautifully with wavy, curly, or coily hair for a fuller, more voluminous ponytail.
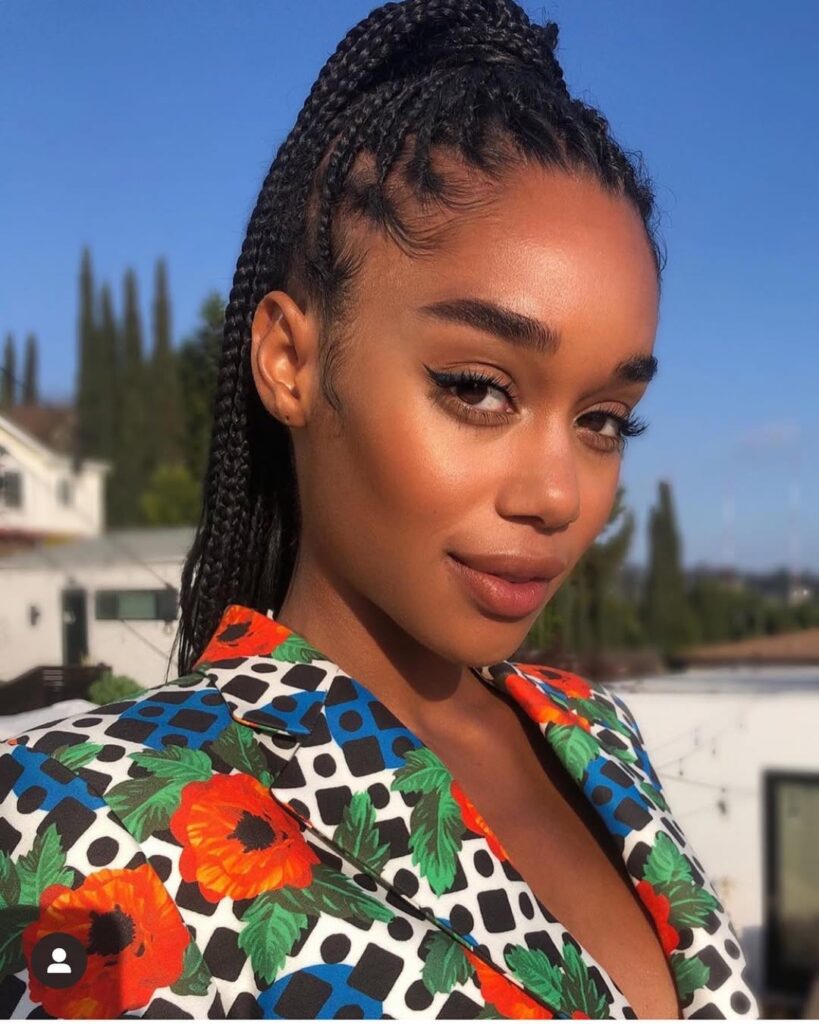
11. High Pony
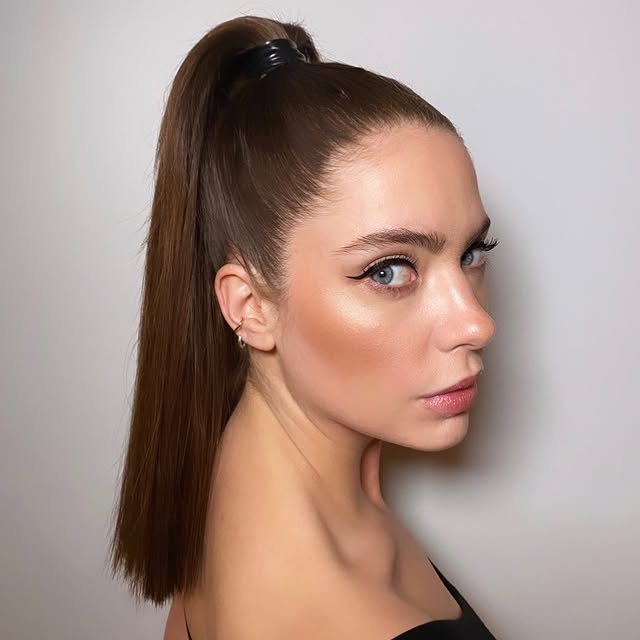
For the perfect high ponytail, start by brushing your hair back and securing it tightly with an elastic. To give your ponytail extra volume, place a bobby pin at the base of the ponytail with the open end pointing upward. Your hair will cover the pin, but it will subtly lift the ponytail and keep it looking fuller without needing to constantly adjust or tighten it.
12. Messy Wrapped Ponytail
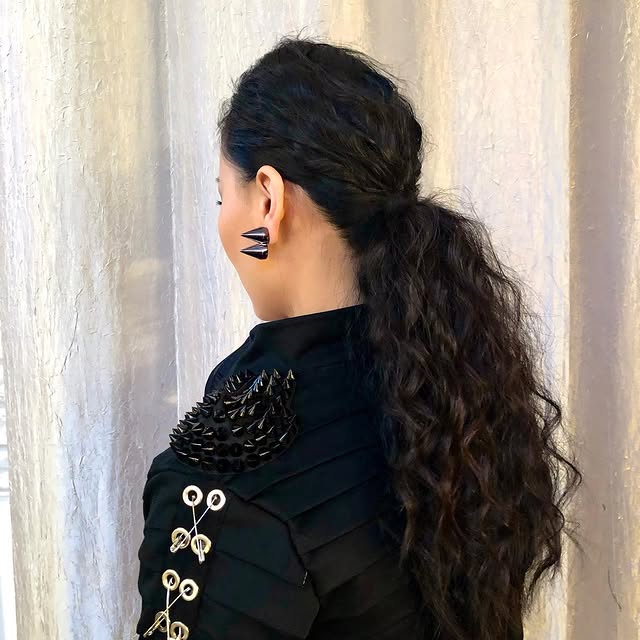
This ponytail is perfect for second-day hair because it lets your natural texture or leftover curls shine. Simply pull your hair back into a ponytail at the nape of your neck without worrying about making it perfectly sleek, and secure it with an elastic. Take a small section of hair from underneath the ponytail and wrap it around the elastic to hide it, then pin the end underneath with a bobby pin and finish with a light mist of hairspray to keep the style in place all day.
13. Chignon With Clip
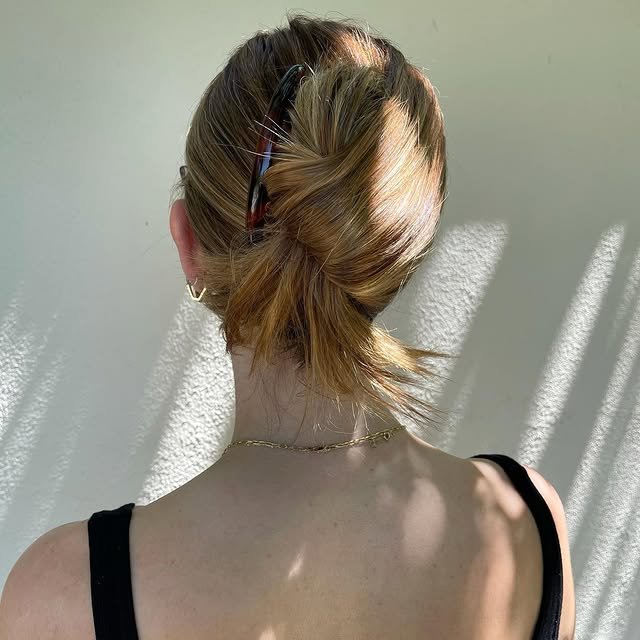
This style is a modern take on the classic French twist. Start by pulling one side of your hair back against your head and securing it with a few bobby pins. Then take the other side of your hair and twist it over the pinned section. Instead of pinning everything like a traditional French twist, use a chic claw clip or decorative hair pins to hold the twist in place. You can tuck in loose pieces for a cleaner look or leave a few strands out for a relaxed, messy finish.
Advertisement – Continue Reading Below
14.’60s-Style Braided Chignon
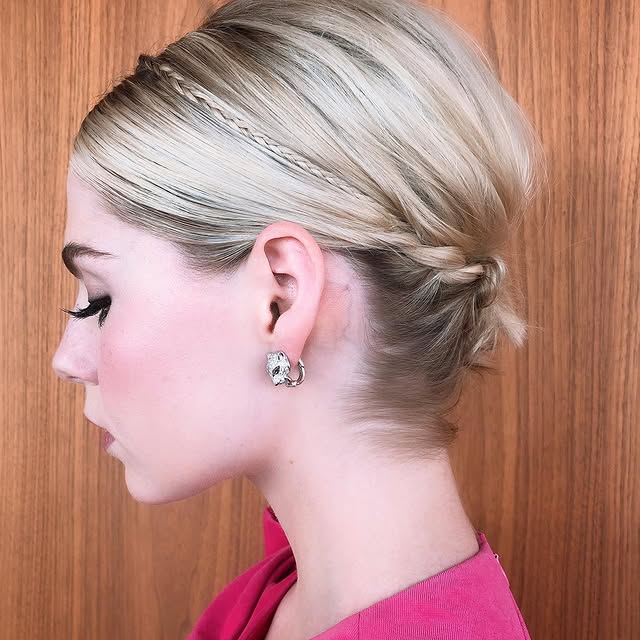
This retro-inspired style is perfect for short hair, which often has fewer updo options than longer lengths. Start by creating a couple of small braids on each side of your head and secure them with elastics. Then pull the hair back behind your ears and braid each side, bringing the braids toward the back of your head and pinning them in place with bobby pins. To finish, use a rat-tail comb to gently lift the hair above the braids, adding volume for a soft, ’60s-inspired look.
15. Twisted Up-Do
This simple updo looks elegant with very little effort. Start by pulling your hair back into a ponytail and securing it with an elastic. Then create a small opening at the base of the ponytail and flip the ponytail through it to form a soft twist. You can leave the style as it is or add a hair accessory to cover the elastic for a more polished finish.
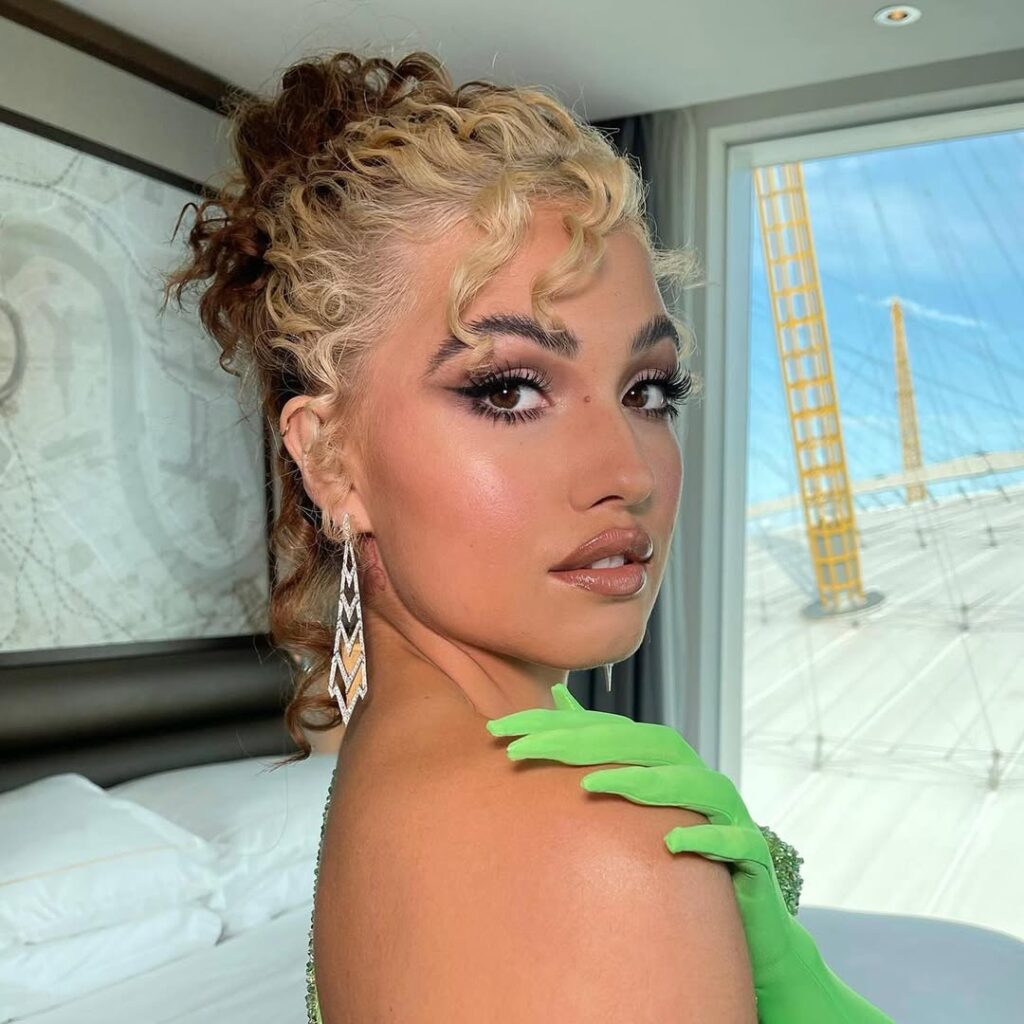
16. Curly High Puff

The curly puff is a quick and easy style for natural hair that keeps it off your neck and out of your face. Start by pulling the top section of your hair into a temporary ponytail while you smooth your edges and brush your hair back. Lightly comb through your curls with water, apply a pomade, and use a brush to sleek everything down. Then place a snap hair tie around your hair and tighten it to form the puff. Once secured, fluff your curls for volume and finish the look with your favorite accessories.